
Effectively manage your exposure surface (Part 2)
In the previous article Effectively Managing Your Attack Surface (Part 1), we used the tool Uncovery - Advanced EASM to get an accurate view of the attack surface of the information system. The results showed 160 services exposed on the internet network, intended for a well-defined user population. In this article, we will show how to use Chimere to secure all of these services and remove them from the attack surface while keeping them accessible to employees.
To do this, we will use the automatic service enrollment mechanism offered by Chimere and then connect the company's identity provider to the Chimere Manager to provide user access to services.
Registering Services on Chimere
Based on the results obtained, let's see how to publish our services. First, we install the Chimere transfer agent within the information system. It will act as a relay between the applications to be protected and the Chimere network. Several architectures are possible:
- Either the transfer agent is installed on each server hosting an application to be secured (optimal level of segmentation and zero-trust)
- Or the transfer agent is installed on a separate machine that can reach the services to be protected on the information system.
In our case, we are dealing with a "flat" information system, i.e., one that does not yet have network segmentation (usually provided by firewalls), and we are implementing the second solution.
After installing a Debian machine within the information system, we install the transfer agent via a command line:
dpkg -i chimere-transfer-agent-linux-x64-2.3.0.deb
 Installation of the Chimere agent
From the Chimere Manager interface, we generate a new enrollment key that we will use to register our services. Don't forget to associate the right to create services; otherwise, the manager will refuse enrollment.
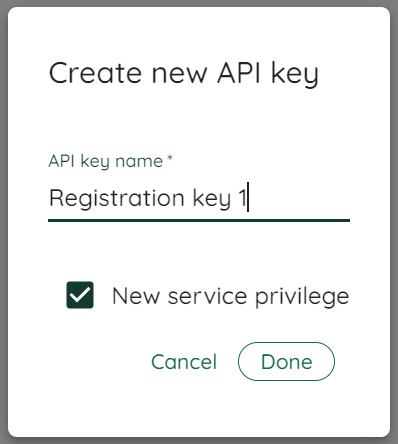 Creation of the enrollment key
Finally, we design the service description file. This JSON file allows us to indicate to the transfer agent how to reach each service to be protected, the enrollment key to use, and also the user groups and domain names through which the services will be made accessible to users.
In our case, the services to be processed are listening on ports 80 and 443 through the local network on the address range 192.168.17.0/24.
The service description file is designed with this nomenclature:
{
  "registration_key": "",
  "groups": ["all"],
  "services" : [
    {"name": "ERP", "ip_address": "192.168.17.1", "port": 80, "urls": ["erp.mycompany.com"]},
    {"name": "Documentation", "ip_address": "192.168.17.14", "port": 443, "urls": ["doc.mycompany.com"]},
    {"name": "Human Resources", "ip_address": "192.168.17.27", "port": 443, "urls": ["rh.mycompany.com"]},
    ...
  ]
}
This extract shows us that the following 3 services will be declared on the Chimere network:
- An "ERP" service that the agent can reach on the local network via
192.168.17.1:80and that the user can reach remotely via the URLerp.mycompany.com - A "Documentation" service that the agent can reach on the local network via
192.168.17.14:443and that the user can reach remotely via the URLdoc.mycompany.com - A "Human Resources" service that the agent can reach on the local network via
192.168.17.14:443and that the user can reach remotely via the URLrh.mycompany.com
Finally, the all group indicates that all users registered in the organization's Chimere manager can access these services.
All that remains is to import the file into the transfer agent:
chimere-service --input-file services_description.json
 Loading the JSON descriptive file
Let's take a look at the manager interface; the services have indeed been declared and are ready to be accessed:
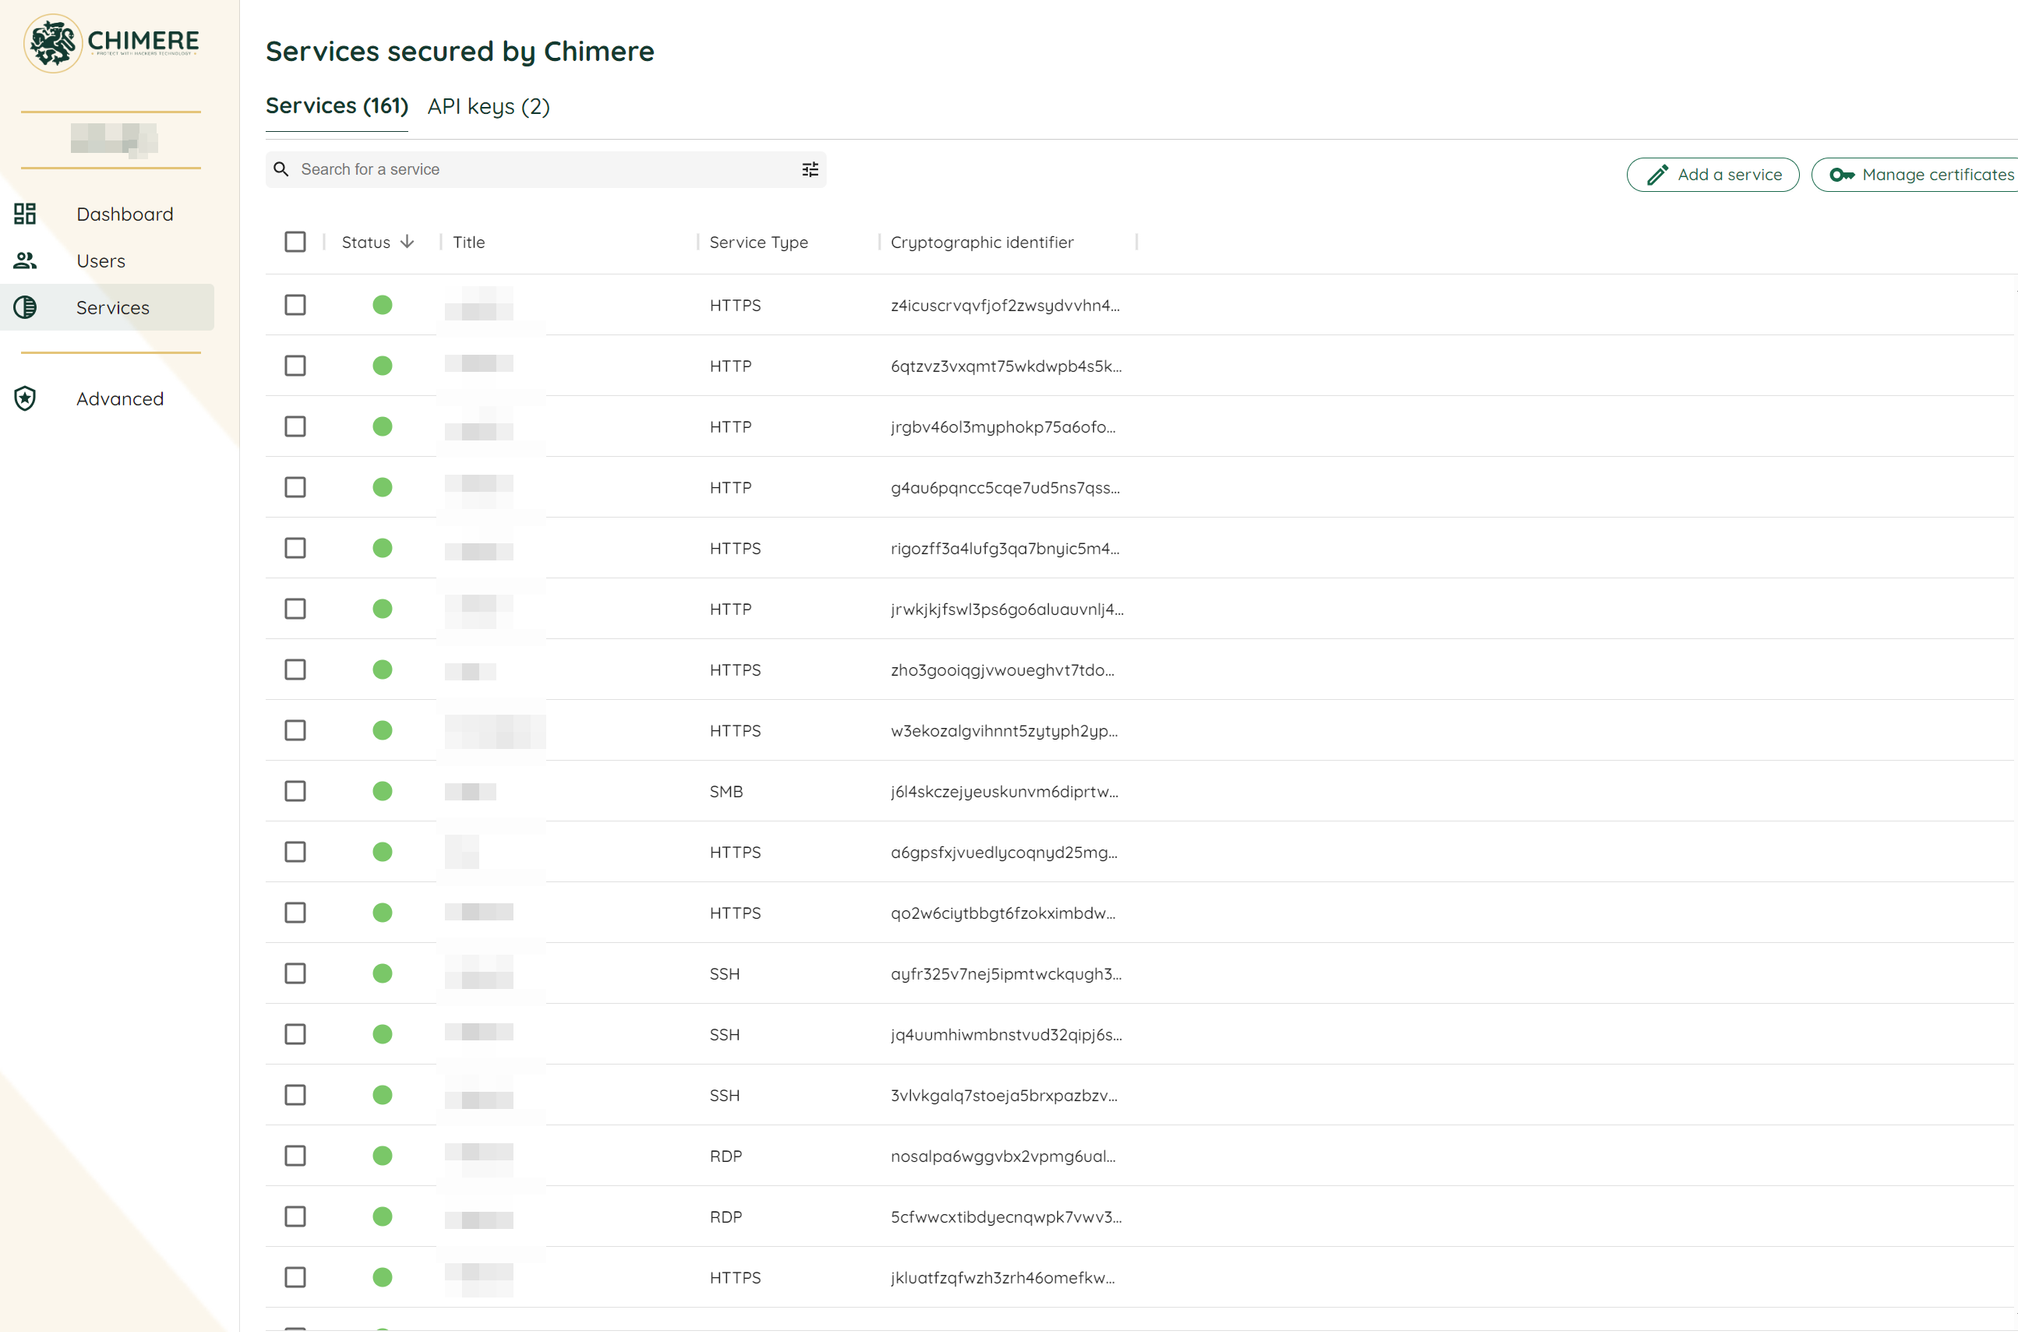 Services declared on the Chimere Manager
Connecting Users
All that remains is to allow users to access the services. To do this, we start with a user base declared in Okta and connect the Chimere Manager with the identity provider. In the Chimere interface, we retrieve the information to be provided to Okta, namely the access URL on which the identity provider will authenticate and the SCIM token.
 Generation of the SCIM token
We also make sure that the "initialization token" box is checked, which will allow the manager to automatically send emails to users inviting them to join the network and the organization, and then we add the users from the Okta interface:
After 8 minutes, the 1223 users have been added to the Chimere Manager and are ready to access the services:
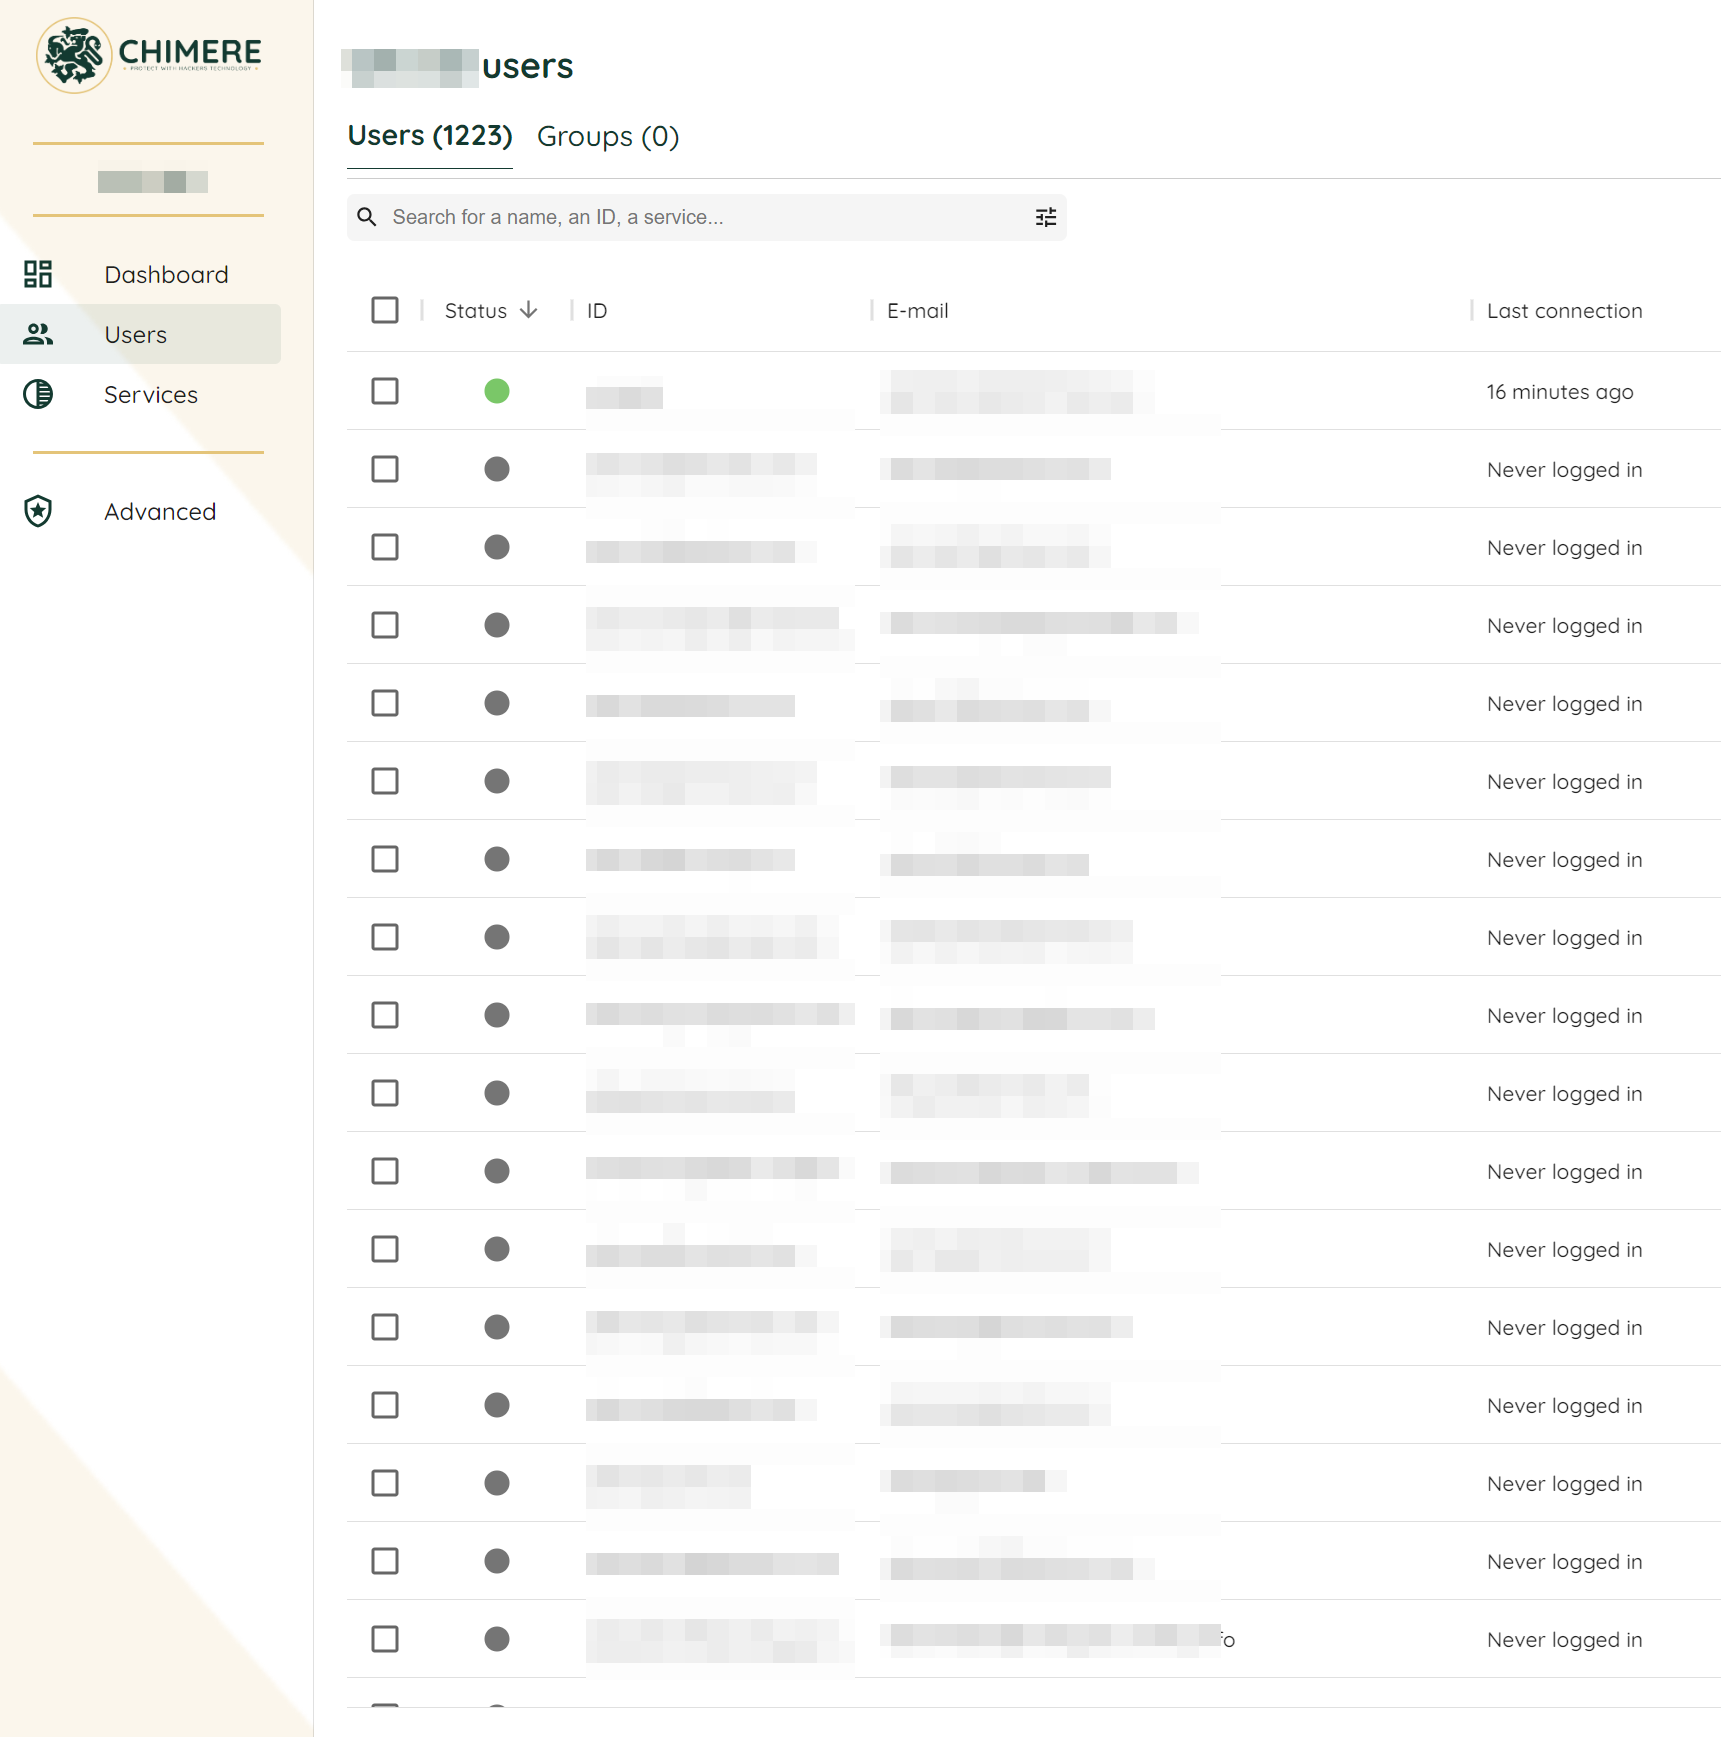 Users provisioned in the Chimere Manager
From a user workstation, let's try to access the services. We have received the invitation email:
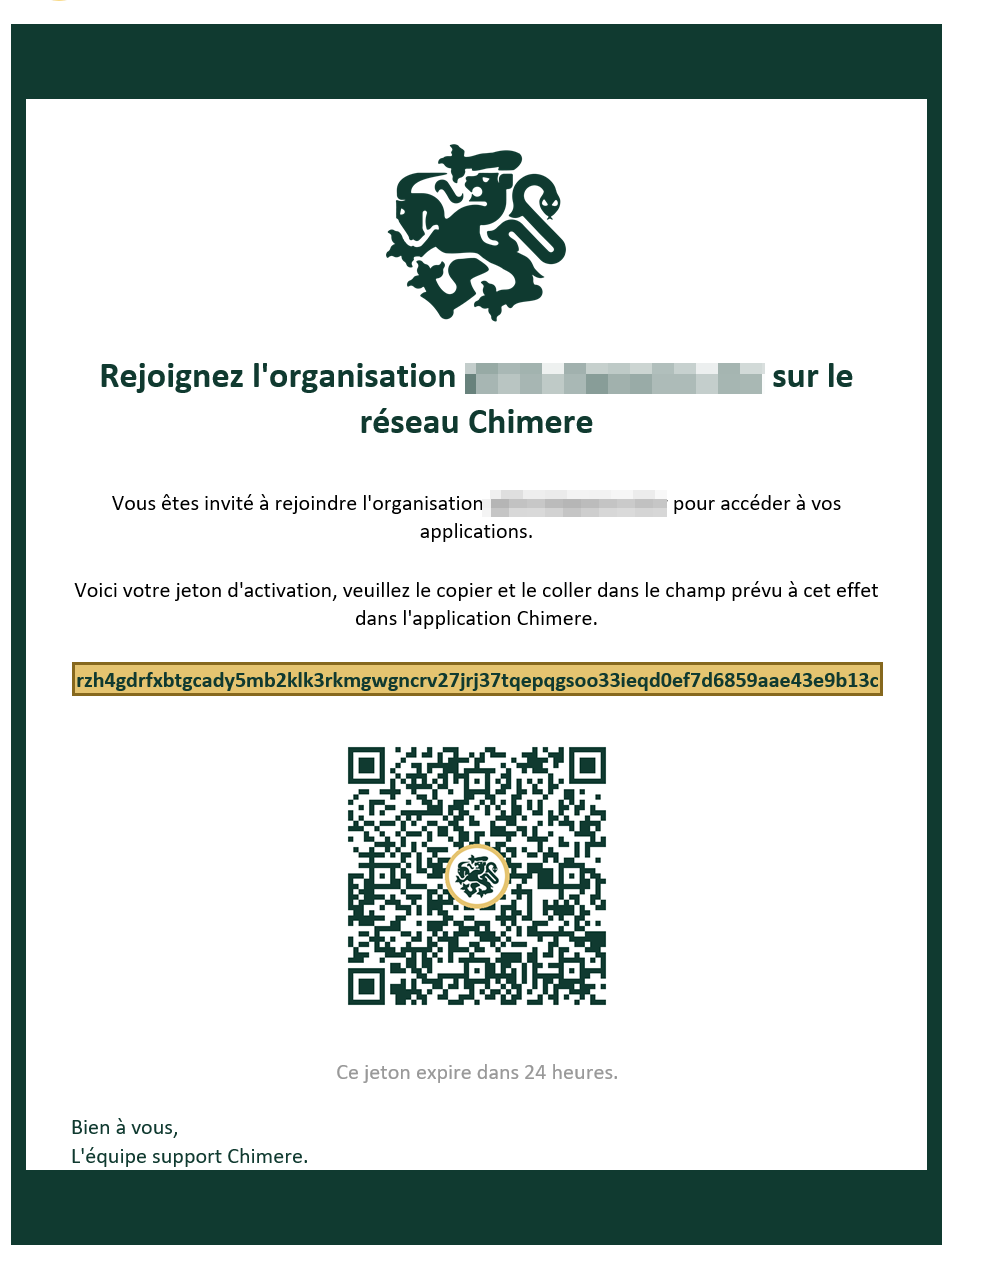 Invitation email to join the organization
And we copy/paste the initialization token into the Chimere user agent of the workstation to join the organization and connect to it:
 Adding the token to the user agent
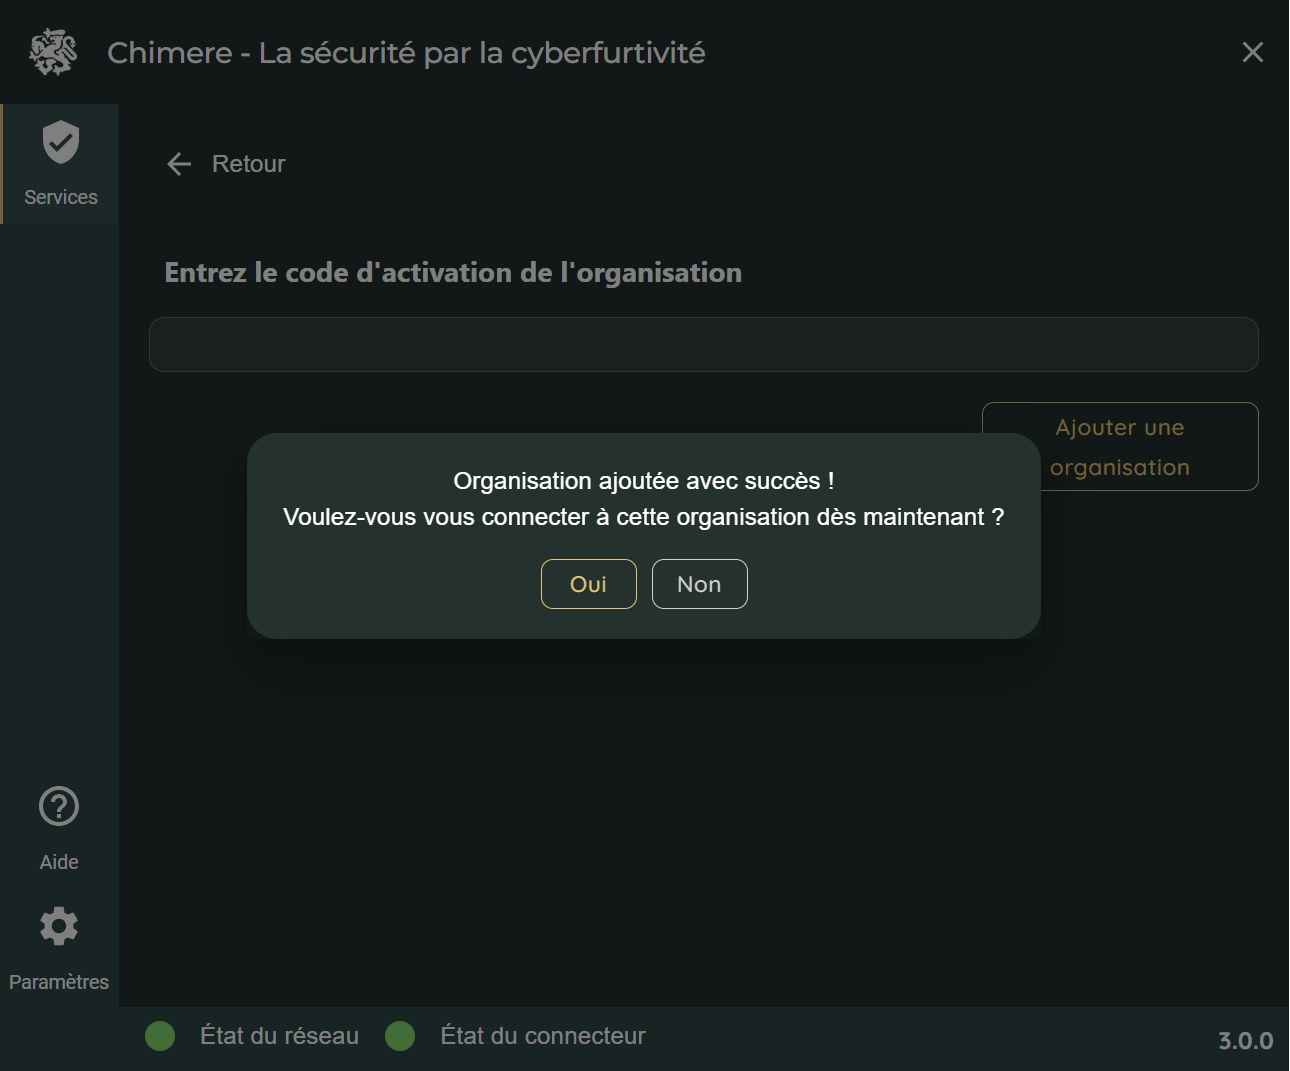
 Connecting to the organization
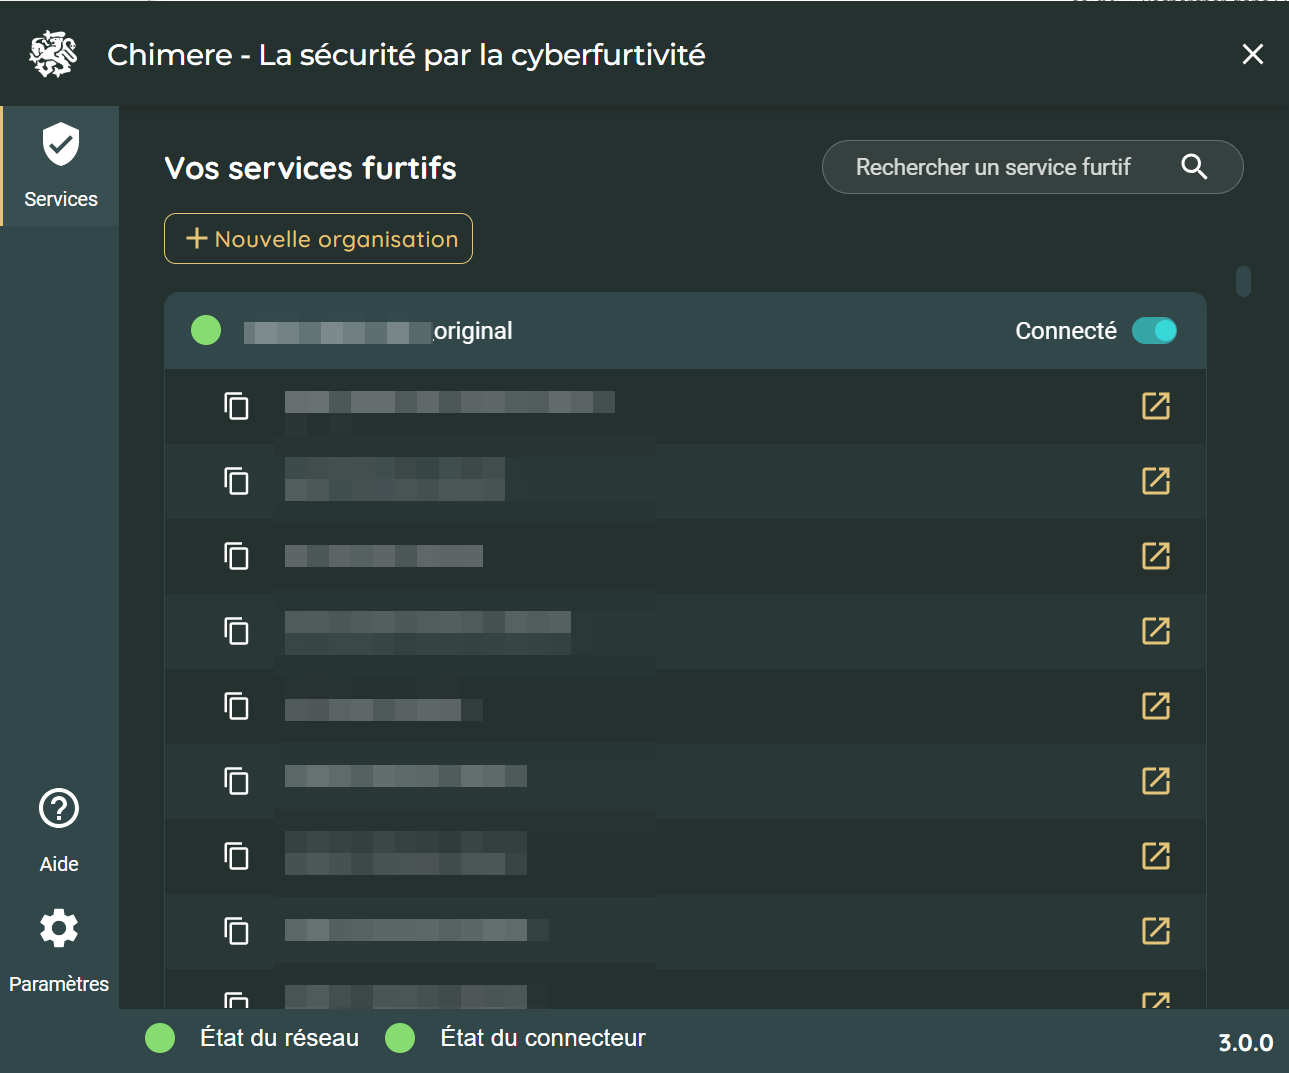
That's it! We get the list of accessible services, and all we have to do is open the URLs to access them.
What About the Attack Surface?
All that remains is to close the exposure of the services and rerun an Uncovery scan to ensure that the services are no longer exposed:
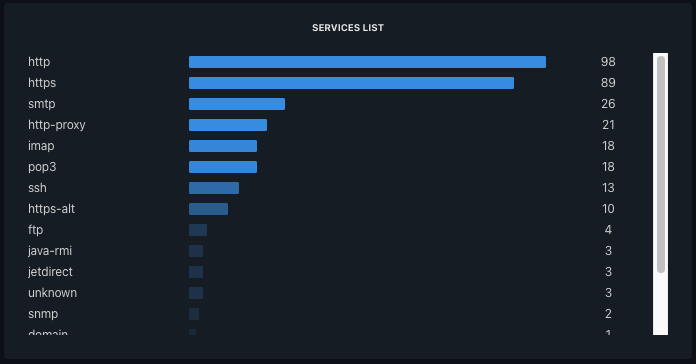 Reminder of services before "chimerization" of services
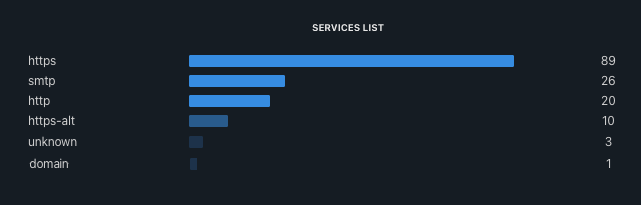 Results after "chimerization"
By analyzing the results, we notice that the 160 services have disappeared from the internet. We have considerably reduced the attack surface by treating all services for employees in just a few minutes, publishing them through the Chimere network, and enrolling all users to provide them with access.
What's Next?
We have reduced the attack surface by making the services invisible. A next step could be to refine user access rights to applications. In this first implementation, all employees of the organization are able to access all of the treated services. But compartmentalizing access rights and applying a least privilege policy is easy to do with Chimere and directly from the manager by:
- Creating user groups
- Associating users with groups and groups with services
- Observing the propagation and revocation in real-time of access rights
Interested? Don't hesitate to contact us for a demonstration or sign up for the newsletter so you don't miss the next articles!